
Boatyard ‘Bock Marine’ Entrance — We planned to be here for a month but ended up spending two months to complete the refit project.
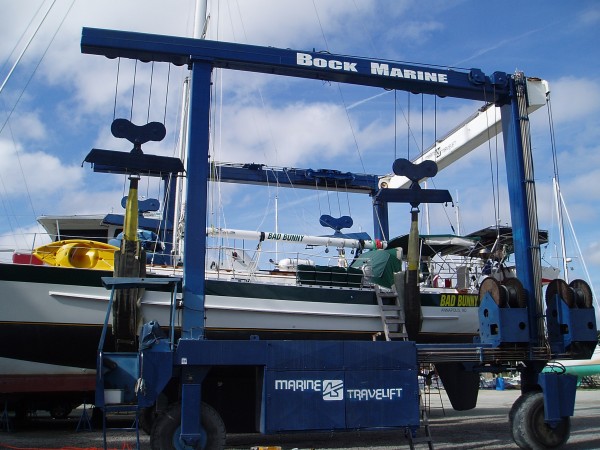
Bad Bunny on the Travel Lift: Ready to Be Back On The Water
***Bock marine: John has been in many different boat yards, this has so far been his favorite. The yard is well run, the shower facilities and bathroom are clean, the ships store is well stocked and very reasonable, there is a courtesy car where you only have to put in the gas you use, they have an onsite crane, the power pedestals are 15 amp, 30 amp, and 50 amp so you can plug your entire boat in. The yard is do it yourself but there are many contractors as well as on site employees so you can do as much or as little as you want.
—–Detailed Refit Tasks in Summer of 2014—–
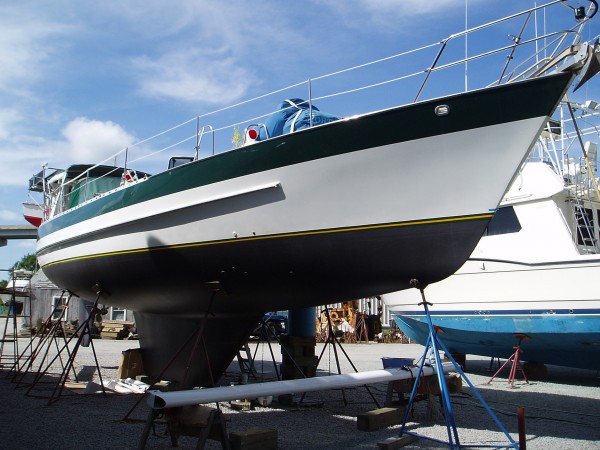
Bottom Hull Repainted in Black
Water Line Boot Stripe (Green and Yellow)
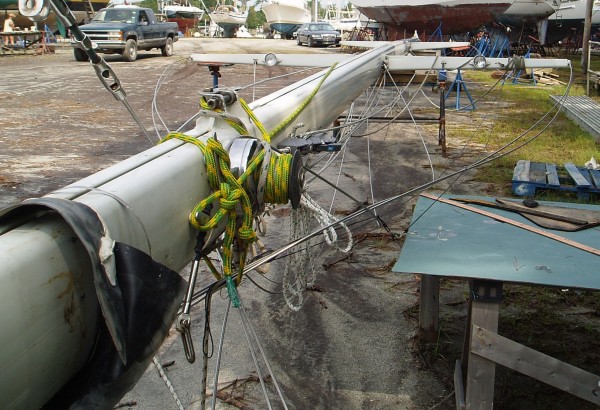
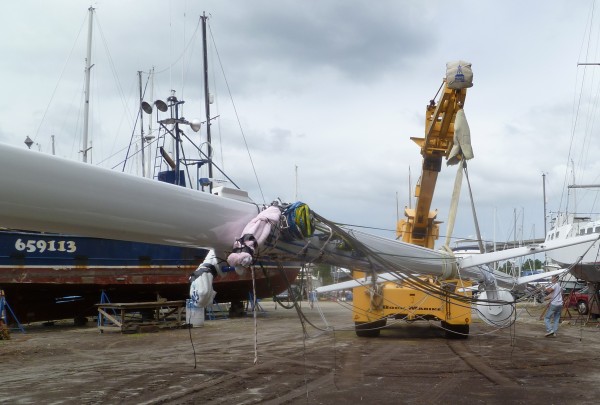
Paint Mast (65 feet), Boom (15 feet), Four Spreaders, and Misc. Parts (Three Weeks): (1) Remove anything attached to the mast/boom-it took days to remove certain bolts even with impact tool (broke three impact tools, imagine how sore hands are after using this tool?), (2) Degrease the aluminum mast/boom, (3) Sand with sandpaper, (4) Sand blast with fine sand (we ended up buying a compressor-super positive investment), (5) Fix corrosion spots, (6) Sand again with smooth sandpaper, (7) Wash the mast/boom with water, (8) Apply Alodine, (9) Rinse with water, (10) Paint it with gray prime and sand, (11) Paint it with white prime and sand (repeat three times), (12) Wet sand with 220 grits, (13) Wash the mast/boom with water, (14) Final paint (three layers) before 1 P.M. (15) Also added painted top 10 feet of Mast in green. (16) Finally, bring Mast/Boom on Boat by the same crane it removed. (Used lots of new fuzzy towels to protect new paint job from scratches.)
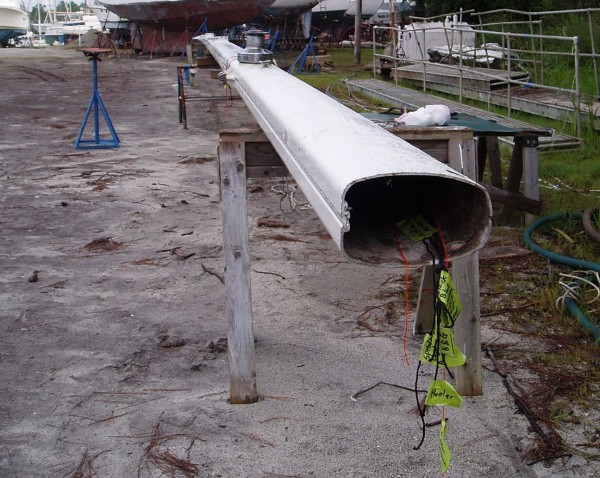
22 Year Old Rigging (Stainless Rods) on Aluminum Mast with Old Paint
Mast Almost Ready for New Paint Job
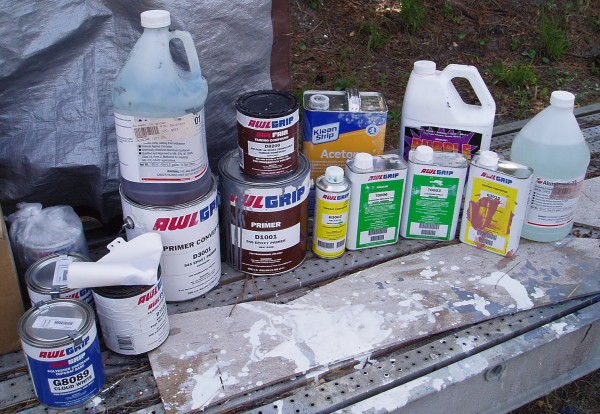
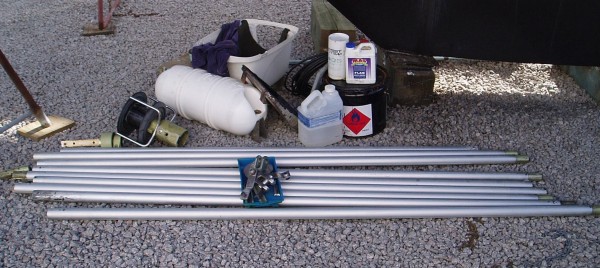
Mast Painting Materials
Repainted Boom
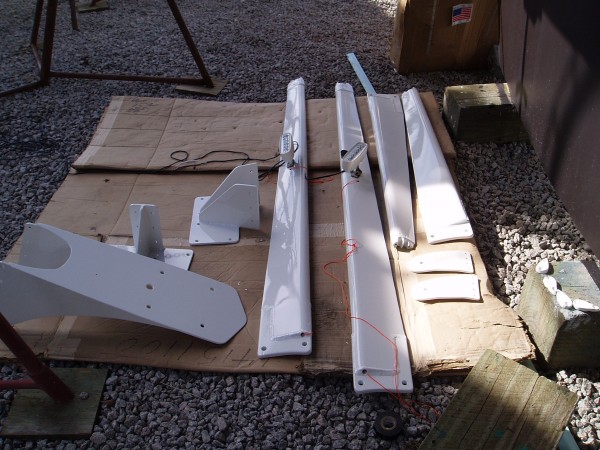
Repainted Spreaders and Misc. Parts
Disassembled Furler

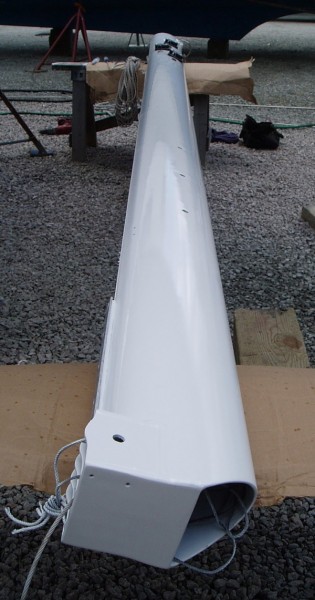
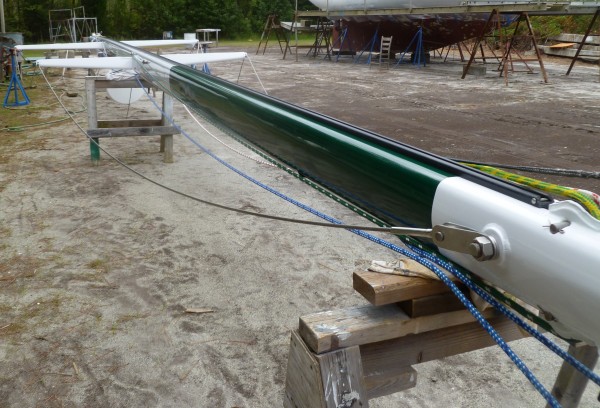
Repainted Mast
Painted Top 10 Feet of Mast in Green
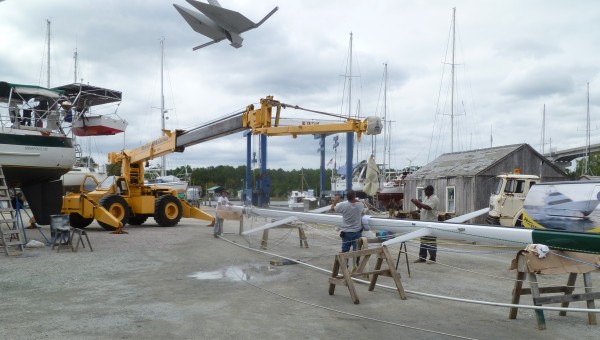
Reassemble Boom/Furler/Mast, Install New Mast Track and New Rigging, Install Electrical Cables (Two Weeks): This was fun work because we can see the final outcome.
Reassembled Boom
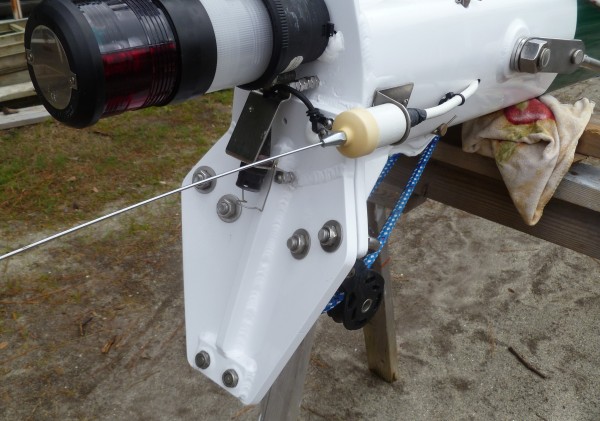
New Code Zero Crane Head
Bringing Repainted Mast to the Boat to Install
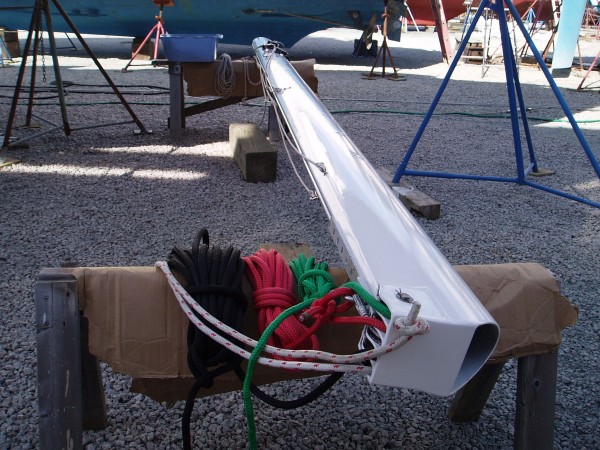
Repainted Mast Near ‘Bad Bunny’
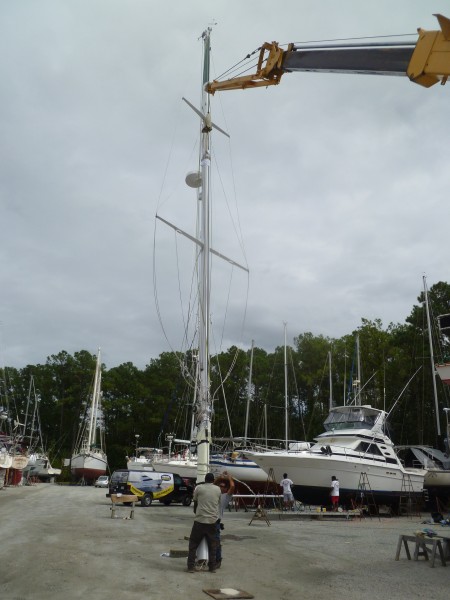
Mast Lifted by Crane to Be Back on ‘Bad Bunny’

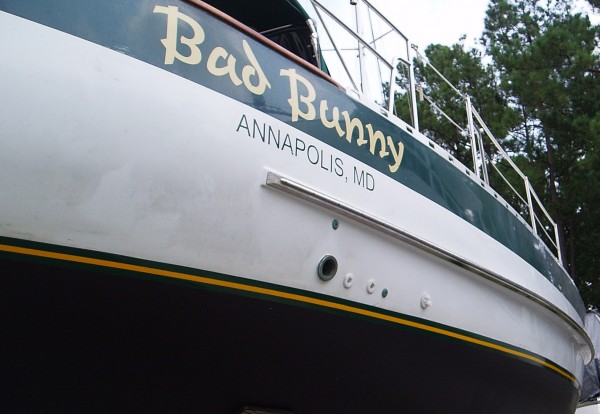
Boat Sign Replaced with Reflective 3M Label (Font Name ‘Machine’ for Simplicity and Speedy Look)
***We ordered some self-adhesive vinyl boat names from http://doityourselflettering.com/ in a variety of vinyl styles. The company advertises that if you mess up the installation they will send you a new letter or an entire new decal. They were not kidding. We messed up one total decal, and a single letter on another decal. A simple phone call and the replacement arrived no questions asked. Big recommendation for these guys who stand behind what they sell. (If you install a large decal use the spray bottle technique)
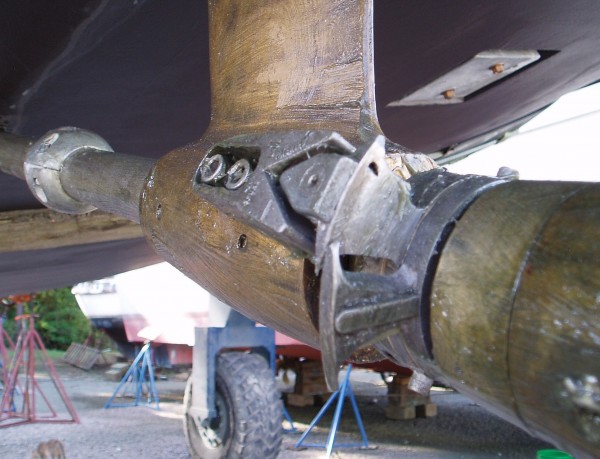
Miscellaneous Tasks (Five Days): (1) Repair Keel, (2) Clean and grease propeller, (3) Replace broken transducer, (4) Install spurs line cutter, (5) Install new zincs, (6) Clean all the parts (Vinegar and Dawn dishwasher soap) prior to reinstalling the boom and mast, (7) Wash all the ropes with fabric softener, (8) Sand and repaint radar, (9) Install new spreader lights, (10) Replace tri color anchor light lamp cover, (11) Install new pumping system (plumbing), (12) Reinstall wiring of electrical devices, (13) Replace glue 5200 on eight chain plates.–This was my nightmare! 5200 works great but it took forever to remove. I felt hand arthritis after removing the old 5200. John used this glue to fix a hole on his Crocs shoes where the bottom was thin. So far so good, after one month of wearing the fixed Crocs shoes with glue 5200!
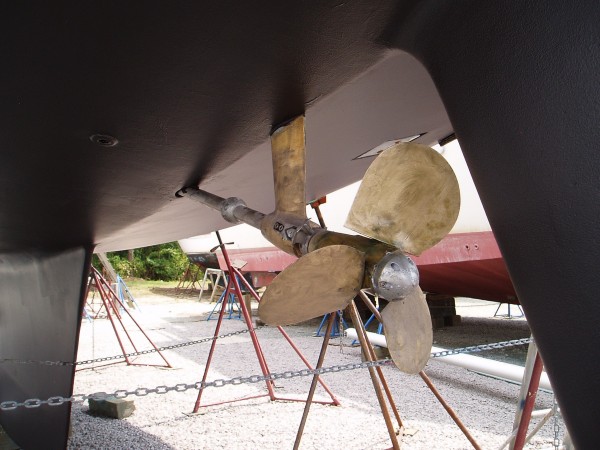
Propeller Cleaned and Greased
Removed Barnacles, Cleaned, and Re-Installed Spurs Line Cutter and also Installed New Zincs
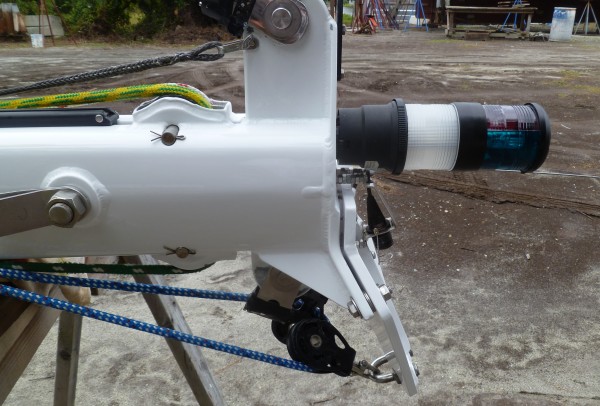
Replaced Tri-Color Anchor Light Lamp Cover
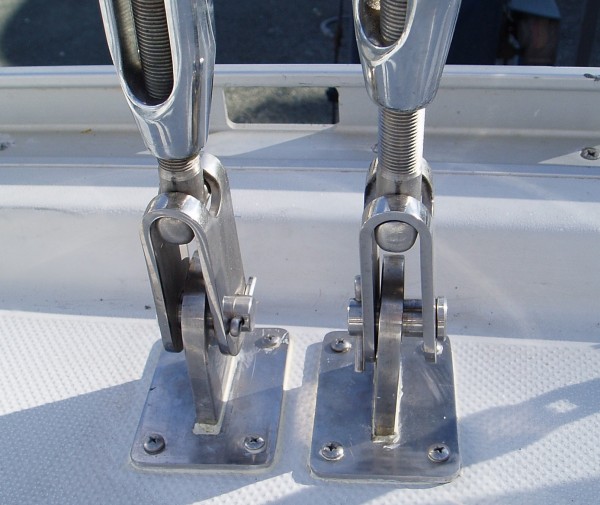
Replaced Old Glue 5200 with New Glue 5200 Under All Eight Chain Plates
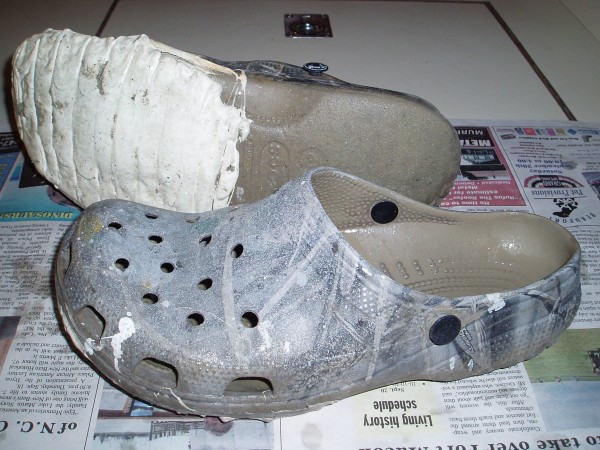
John’s Crocs Shoes Repaired with Glue 5200–Working Great!
“No matter what, you just don’t quit!!!”